If you want a Lemon Tart that slices cleanly, tastes bright, and does not soak the crust, this recipe is built for you. I am going to walk you through the crust, the lemon filling, and the exact done-ness cues I rely on when I want a smooth set without over-baking. You will also get fixes for the most common problems like shrinking crust, cracks, and a filling that wants to curdle.
Time and servings
Prep time: about 45 minutes active
Cook time: about 45 minutes
Chilling time: about 4 hours
Total time: about 6 hours
Servings: 8
Yield: one 9 inch tart
What this Lemon Tart is and why it works
A Lemon Tart is a crisp sweet pastry shell filled with a smooth lemon custard that sets in the oven, then firms up fully in the refrigerator. The two techniques that make this version reliable are a fully blind baked shell to keep the bottom crisp, and gentle heat control while mixing so the eggs thicken into a custard instead of turning grainy.
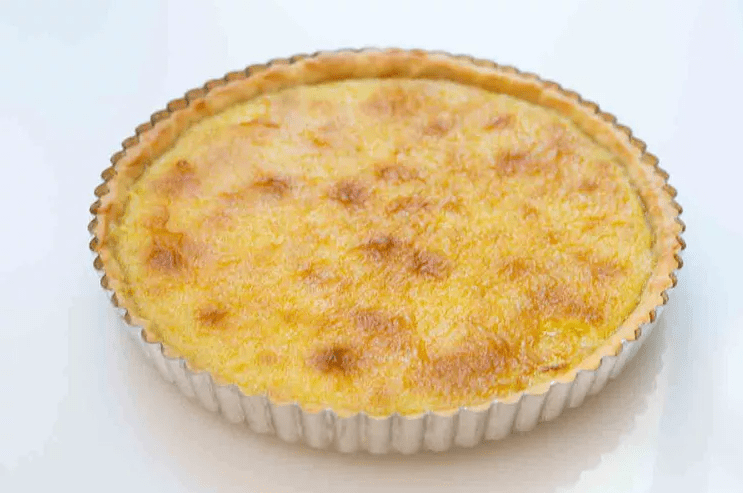
What success looks like
- Crust: deep golden, smells like toasted butter, and feels dry on the bottom when you lift the pan
- Filling: edges look set and matte, center jiggles like soft gelatin when you nudge the pan
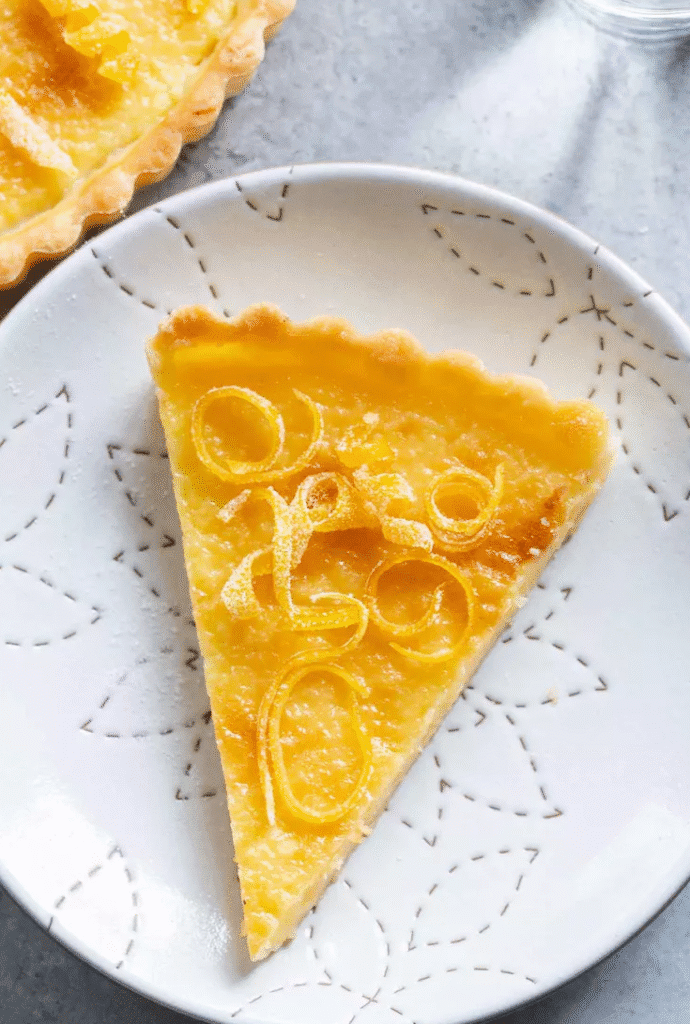
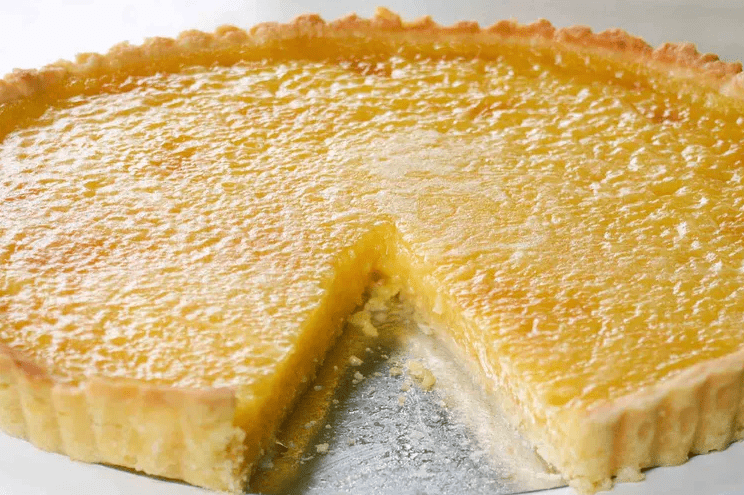
- Slice: clean wedge with a glossy, smooth interior and no watery ring at the crust
Ingredients with exact quantities

For the sweet tart crust
- All purpose flour: 200 g
- Powdered sugar: 50 g
- Fine salt: 3 g, about one half teaspoon
- Unsalted butter: 113 g, cool room temperature, cut into cubes
- Large egg: 50 g, one egg, lightly beaten
- Lemon zest: 1 teaspoon, finely grated
- Almond extract: one quarter teaspoon, optional
- Vanilla extract: one half teaspoon, optional alternative to almond
For the lemon filling
- Unsalted butter: 113 g
- Creme fraiche: 60 g
- Fresh lemon juice: 180 ml, about three quarters cup
- Granulated sugar: 150 g
- Finely grated lemon zest: 1 and one half teaspoons
- Large eggs: 2
- Large egg yolks: 3
- Fine salt: a pinch
Optional toppings
- Powdered sugar for dusting
- Fresh berries
- Lightly whipped cream
- Candied citrus peel
Substitutions with limits and trade-offs
Creme fraiche versus sour cream: you can swap equal amounts of sour cream for creme fraiche. Sour cream is a bit tangier and can taste slightly sharper, so I usually add one extra tablespoon of sugar if the lemons are very strong.
Almond extract versus vanilla: almond reads “bakery style” but can overpower if you use more than a quarter teaspoon. Vanilla is safer if you are serving kids or anyone sensitive to almond flavor.
Other citrus: you can replace lemon juice with lime or grapefruit juice, but reduce grapefruit juice by 2 tablespoons and replace with lemon juice if you want more acidity and less bitterness.
Allergen note
This recipe contains wheat, dairy, and eggs.
Tools and equipment
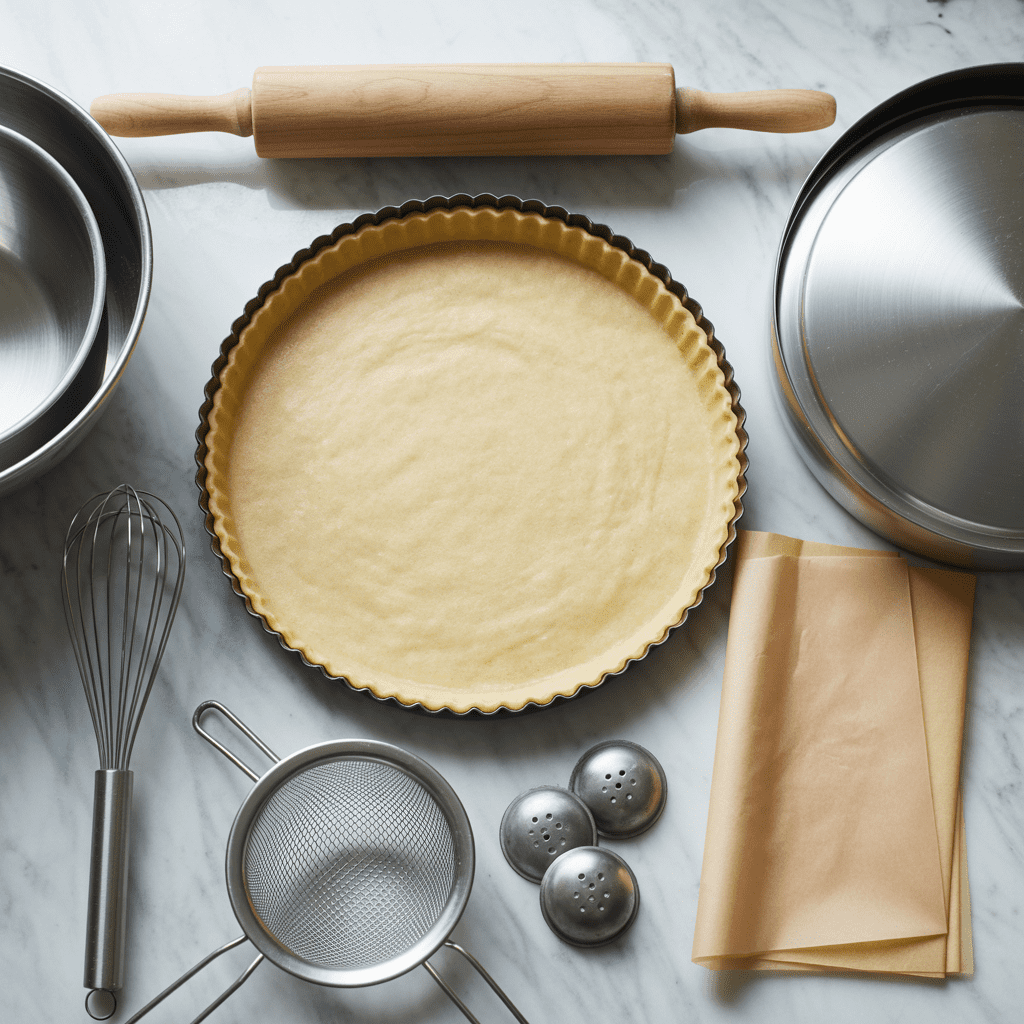
Must Required
- 9 inch tart pan with removable bottom
- Rolling pin
- Mixing bowls
- Whisk
- Fine mesh strainer
- Parchment paper
- Aluminum foil
- Pie weights or dry rice or dry sugar
- Baking sheet
- Cooling rack
Optional but helpful
- Microplane zester grater for fine zest that avoids bitter pith
- Digital instant read thermometer for custard style done-ness checks
Method: Step by step preparation guide
Step 01: Prep the lemons safely and get better zest
Wash and dry the lemons before zesting, especially if you are using the peel. Use cool running water and do not wash produce with soap. Dry well so your zest does not clump.
What to watch for
Fragrant yellow zest only, no white bits.
Most common mistake
Grating into the white pith, which tastes bitter.
Quick fix
Stop the moment you see white. If your zest pile has white flecks, pick them out with your fingers before it goes into the sugar.
Step 02: Make the crust dough without making it tough
In a bowl, whisk flour, powdered sugar, and salt. Add butter cubes and rub them into the dry mix with your fingertips until you have sandy crumbs plus a few small butter bits the size of peas. Stir in the beaten egg, lemon zest, and almond or vanilla, mixing just until the dough clumps. Press the dough together with your hands once or twice, but do not knead.
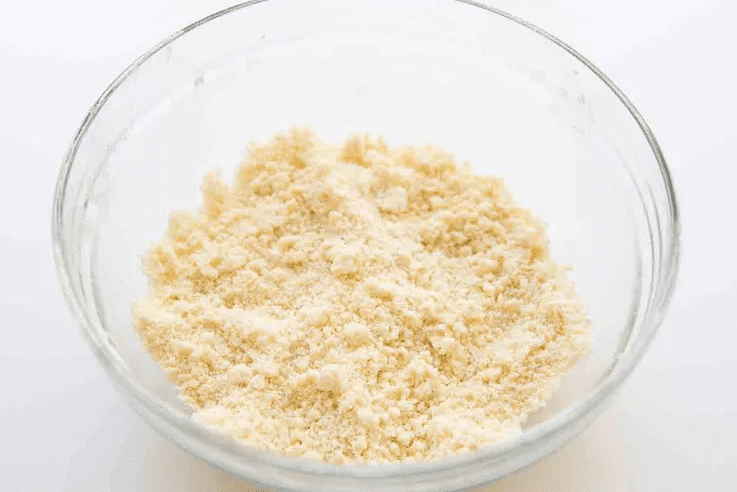
What to watch for
Dough should hold together when squeezed, but still look a little shaggy.
Most common mistake
Over-mixing after the flour is in, which develops gluten and makes the crust hard.
Quick fix
If you think you over-mixed, press the dough into a flat disk and chill it longer. Chilling helps the dough relax before rolling.
Step 03: Chill plan and why chilling matters
Flatten dough into a disk about 2 cm thick. Wrap well and refrigerate at least 1 hour and up to 2 days. This rest cools the butter and helps limit shrinkage in the oven.
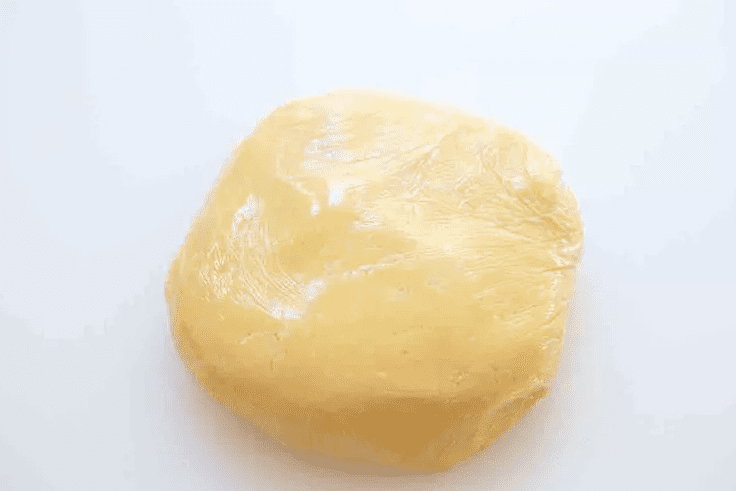
What to watch for
Dough feels cool and firm, not sticky.
Most common mistake
Rolling warm dough, which tears and shrinks later.
Quick fix
If the dough cracks badly while rolling, let it sit 5 to 10 minutes at room temperature, then try again.
Step 04: Roll and fit the tart pan, plus crack repairs
Lightly flour your surface. Roll from the center outward, rotating the dough a quarter turn often, until it is about 3 mm thick and wide enough to cover the pan with a little overhang. Roll the dough up onto the pin, drape into the pan, then lift and ease it into the corners instead of stretching. Trim the top by rolling the pin across the rim.
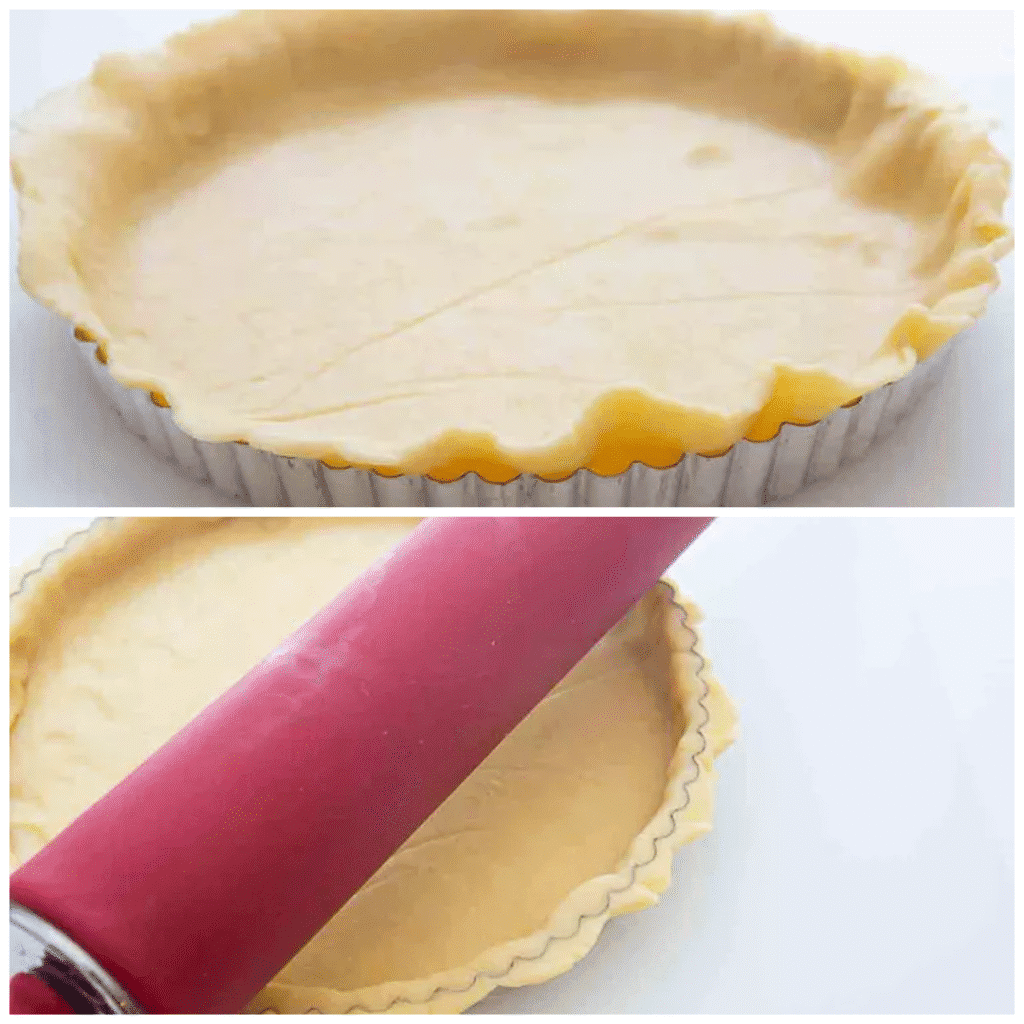
If the dough cracks, patch it now. I pinch cracks together first. If there is a gap, tear off a small piece of dough, press it over the gap, and smooth the seam with a fingertip dipped in water.
What to watch for
Sides look even, with no thin spots at the corners.
Most common mistake
Stretching the dough down the sides, which causes it to slump and shrink.
Quick fix
If you stretched it, peel it up and let it relax for 30 seconds, then set it back down gently.
Step 05: Freeze the shell briefly before blind baking
Chill the shaped shell in the freezer for 20 to 30 minutes. This firms the fat so the edges hold their shape better during blind baking.
What to watch for
Shell feels firm when you tap the side.
Most common mistake
Skipping this and getting slumped sides.
Quick fix
If you skipped it, put the lined shell in the fridge while the oven preheats, then bake a few minutes longer with weights.
Step 06: Blind bake with weights, and what to do if the crust slumps
Heat oven to 190 C, about 375 F. Place the tart pan on a baking sheet. Line the chilled shell with foil or parchment, pressing fully into the corners. Fill with pie weights, dry rice, or dry sugar so the weights reach up the sides.
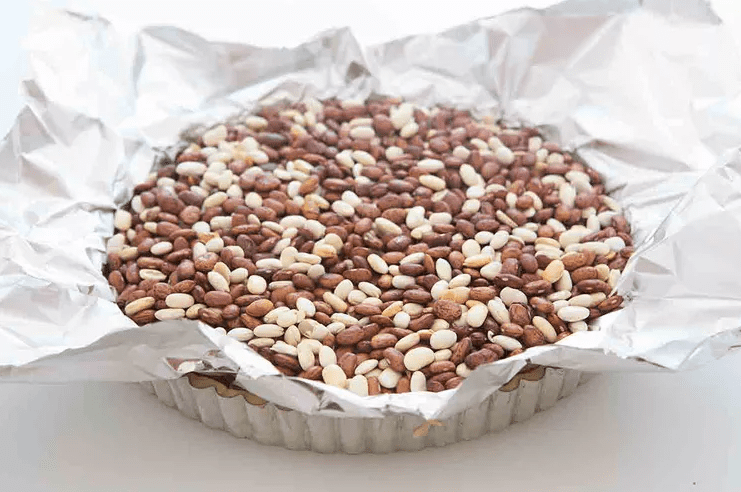
Bake 20 minutes. Carefully lift out the liner with the weights. Dock the bottom lightly with a fork. Return to the oven and bake 10 to 15 minutes more, until the crust is deep golden and looks dry.
Chilling before baking and using enough weight helps prevent shrinkage and bubbling.
What to watch for
Edges should look set and just starting to brown before you remove the weights.
Most common mistake
Removing the weights too early, which lets the sides slide down.
Quick fix
If the sides slump while the crust is still hot, use the back of a spoon to gently press the sides back up. If it slumps a lot, patch with thin strips of leftover dough and bake a few minutes to set.
Step 07: Mix the lemon filling with temperature control
Lower oven to 165 C, about 325 F.
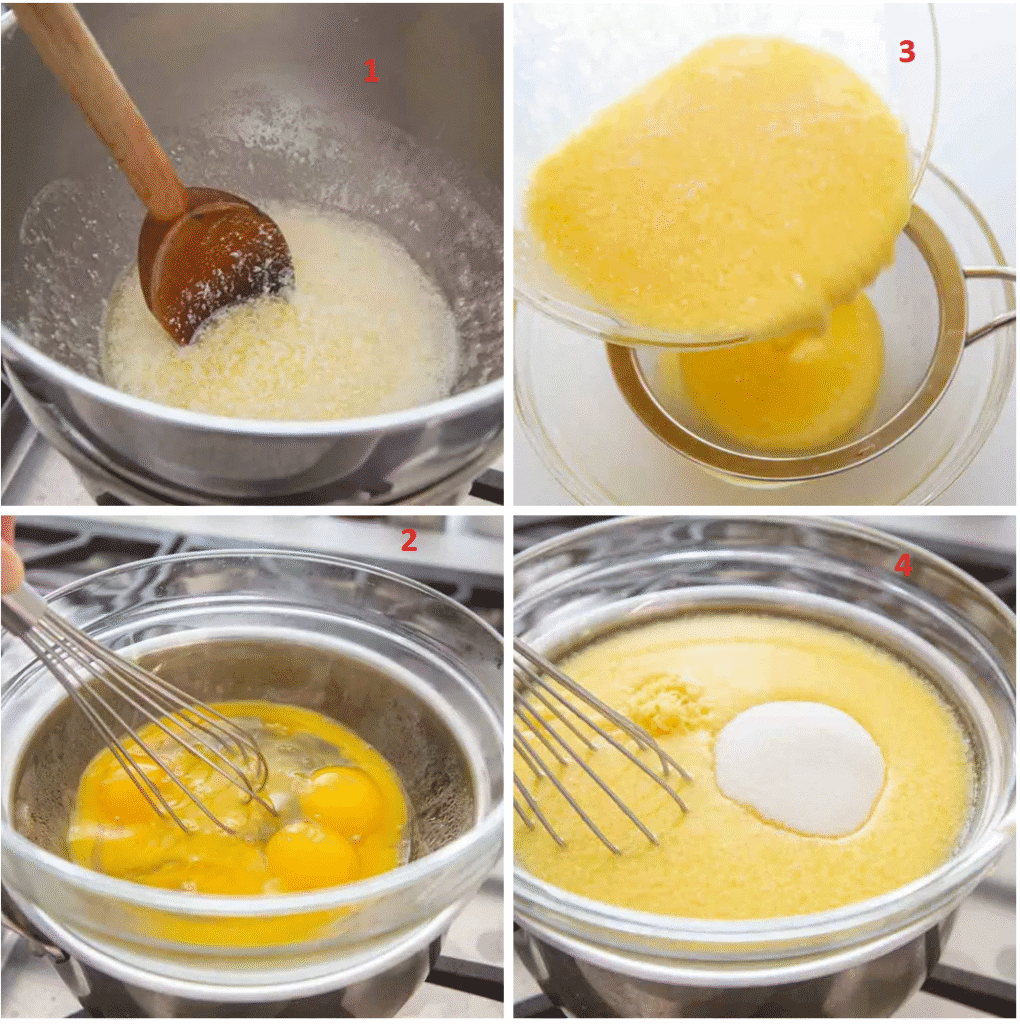
Melt butter gently and cool it for a few minutes so it is warm, not hot. In a bowl, whisk sugar and lemon zest together until the sugar looks slightly damp and smells strongly of lemon. Add eggs and yolks and whisk until smooth. Whisk in lemon juice, creme fraiche, salt, then whisk in the warm butter.
If you want a more controlled filling, use an instant read thermometer and keep the mixture below the range where curd thickens on the stove, around 170 F, while you are mixing and straining.
What to watch for
Mixture should look uniform, not grainy, with no visible egg strands.
Most common mistake
Adding very hot butter, which can partially cook the eggs.
Quick fix
If you see tiny egg bits, do not panic. Straining will fix most of it, and the bake will smooth the rest.
Step 08: Strain and why it matters
Strain the filling through a fine mesh strainer into a jug or bowl, pressing gently. Straining removes bits of zest and any cooked egg, which gives you a silkier slice.
What to watch for
Strained filling pours smoothly and looks glossy.
Most common mistake
Forcing too hard through the strainer, which can push bitter zest solids through.
Quick fix
Stop when you are left with wet pulp. Do not scrape that pulp into the filling.
Step 09: Fill and bake, with a simple jiggle test
Place the baked crust on the baking sheet. Pull the oven rack out a little, pour in the strained filling, then slide the rack back in gently.
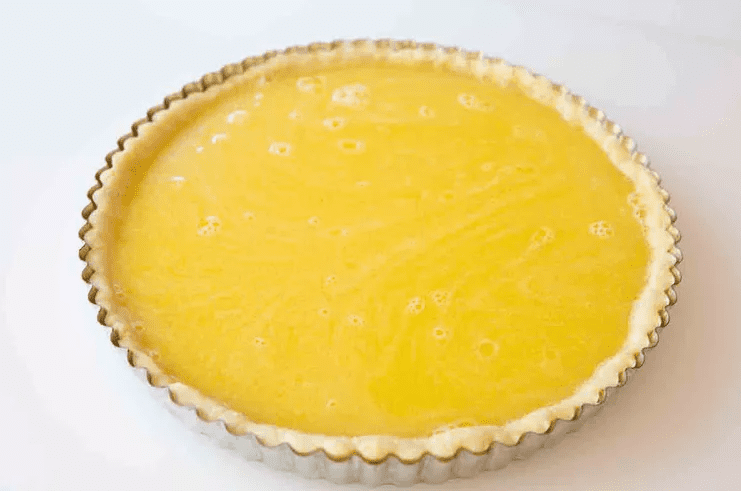
Bake 18 to 25 minutes. Start checking at 18 minutes. The tart is done when the edges are set and matte, and the center has a soft wobble like gelatin, not a wet slosh. A thermometer check is optional, but custard style pies are commonly pulled when the center is around 170 F.
What to watch for
A slight dome is fine. The center should still move a little.
Most common mistake
Baking until there is zero movement, which often leads to cracks and a grainy texture as it cools.
Quick fix
If it is over-baked and cracks, chill it fully, then cover with berries or whipped cream. The flavor will still be great.
Step 10: Cooling and chilling workflow
Cool the tart on a rack until it reaches room temperature, then refrigerate at least 4 hours before slicing. Chilling firms the filling so you get clean wedges.
What to watch for
The tart should feel cold and firm when you press the center lightly with a fingertip.
Most common mistake
Cutting too soon, which makes the filling look runny even if it is actually baked correctly.
Quick fix
Refrigerate longer, then wipe your knife clean between slices.
Optional topping ideas
- Powdered sugar dusting right before serving
- Fresh berries piled in the center
- Whipped cream on the side
- Candied citrus peel for a more festive look
If you make candied peel, avoid thick white pith to reduce bitterness.
Variations
- Lime tart
Use the same method with lime juice and lime zest. Lime can read sharper, so I usually increase sugar by 1 tablespoon. - Grapefruit tart
Use 150 ml grapefruit juice plus 30 ml lemon juice for brightness. Taste the juice first and adjust sugar up by 1 to 2 tablespoons if it is very bitter. - Meyer lemon version
Meyer lemons are often less acidic and more floral, so reduce sugar by 1 to 2 tablespoons, then taste your filling before baking and adjust if needed. - Berry topped version
Cool and chill the tart fully, then top with berries right before serving so they do not weep into the surface. - Vanilla bean version
Skip almond extract. Add 1 teaspoon vanilla extract or the seeds from half a vanilla bean. - Gluten free crust option
Use a tested gluten free pie crust from King Arthur Baking, then blind bake it using the same weight and done-ness cues in this recipe. Gluten free dough can be more fragile, so roll between parchment sheets. - No dairy alternative
I cannot verify a dependable no dairy version that keeps the same smooth texture and clean slice in a baked lemon tart, because the fat and cultured dairy play a structural role here. If you need dairy free, I recommend choosing a specifically tested dairy free lemon tart recipe from a dedicated allergen tested source.
Make ahead and storage
Make ahead timeline
- Dough: make up to 2 days ahead and refrigerate well wrapped
- Shaped unbaked shell: freeze 1 day ahead, wrapped well
- Baked shell: bake 1 day ahead, cool fully, store covered at room temperature
- Fully baked tart: best made the day before serving so it has time to chill and set
Fridge storage and best serving window
Because the filling is egg based, store the tart covered in the refrigerator and aim to eat it within 3 to 4 days for best quality and safety.
Freezing guidance and thawing guidance
Freezing custard style pies is often not recommended because the texture can turn watery after thawing. If you still want to try, freeze individual slices tightly wrapped, thaw overnight in the refrigerator, and expect a softer set.
Mistakes to avoid
- Warm crust into warm filling: you are more likely to lose crispness on the bottom
- Not using enough weights during blind baking: sides slump and the bottom puffs
- Grating zest into the white pith: bitterness builds fast
- Pouring very hot butter into eggs: you can get scrambled flecks
- Over-baking until the center is stiff: cracks, grainy custard, and a slightly eggy taste are more likely
- Leaving the tart at room temperature for too long: treat it like other egg based desserts and refrigerate promptly
FoodSafety.gov
Expert tips and real life examples
- Rub zest into the sugar first
It perfumes the whole filling without needing more zest, which can push bitterness. - Bake the crust darker than you think
For a lemon tart, a pale crust tastes bland and goes soft faster. - Use a baking sheet under the tart pan
It makes moving the tart safer and encourages more even browning. - Let the custard finish setting in the fridge
If you bake until it is fully firm in the oven, it usually ends up over-baked after carryover heat. - If you love extra lemon punch, add zest, not extra juice
Extra juice can loosen the set. Zest boosts aroma. - Consider a thermometer if you are nervous
A temperature check is a confidence tool, especially the first time you bake a custard style tart.
Real life scenario 1: crust cracked while moving it to the oven
I once lifted the tart pan by the rim and the shell cracked right across the base. I patched it with a thin sheet of dough pressed over the crack, then chilled the whole pan again for 15 minutes. After the blind bake, that patch baked up like a seam in shortbread and the filling never leaked.
Real life scenario 2: filling looked curdled in the bowl
This happened when my butter was too hot. I strained the filling, then baked as usual. The strainer caught the tiny egg bits, and the baked tart sliced smooth. The key was not to whisk harder, because aggressive whisking adds bubbles that can look like foam on top after baking.
Nutrition facts (Per serving)
Estimated per serving, based on an ingredient database style calculation:
- Calories: About 450 to 520
- Fat: About 28 to 34 g,
- Carbs: About 40 to 50 g ,
- Protein: About 7 to 9 g
This is an estimate only and will vary with brands, pan size, and how thick you cut slices.
Frequently asked questions
Q1: How do I know the tart is set without over-baking
Look for set, matte edges and a center that jiggles like soft gelatin, not liquid. If you use a thermometer, custard style baked goods are often pulled around 170 F in the center.
Q2: Can I make it the day before
Yes, and I recommend it. Overnight chilling gives the cleanest slices and the most stable set.
Q3: Why did my crust shrink
Usually the dough was stretched into the pan, not chilled long enough, or not weighted enough during blind baking. Chilling helps relax the dough and firm the fat to limit shrinkage.
Q4: Can I use bottled lemon juice
You can, but fresh lemon juice usually tastes brighter and the zest provides a lot of the lemon aroma. If bottled juice is your only option, still use fresh zest. I cannot verify a universal substitution ratio for flavor, because bottled juices vary.
Q5: Do I need to strain the filling
If you want the smoothest slice, yes. Straining removes zest solids and any tiny egg bits.
Q6: How do I prevent a metallic or bitter taste from zest
Do not grate into the white pith, and wash and dry the fruit before zesting. A Microplane style grater helps remove just the fragrant zest layer.
Q7: Is this safe with eggs
This tart is baked until the filling is set, and egg foods should be cooked thoroughly and then refrigerated promptly.
Conclusion
A great Lemon Tart is mostly about two things: a fully blind baked crust that stays crisp, and a gently baked filling that sets with a soft jiggle and finishes firming in the fridge. Use zest rubbed into sugar for big lemon aroma, strain the custard for a silkier slice, and trust the visual cues more than the clock. Make notes after your first bake, especially about how your oven runs, and your second tart will be even more consistent.

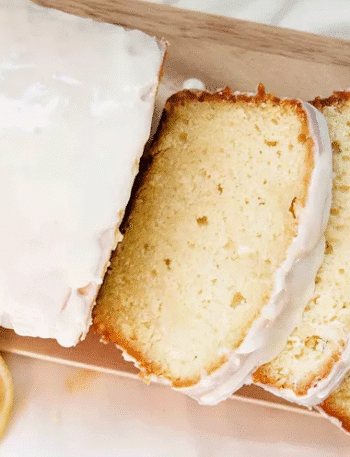
Lemon Tart With Crisp Buttery Crust and Silky Lemon Filling