Toast pies are quick little hand pies made from sandwich bread folded around a filling, sealed, then baked or air fried until crisp. They are perfect for small batches, after school snacks, and cooking with kids because the steps are simple and forgiving. In this guide you will learn how to seal them tightly, avoid leaks, and get crisp edges without burnt sugar.
Time and serving
- Prep time: about 10 minutes
- Cook time: 10 to 12 minutes
- Total time: about 20 to 25 minutes
- Servings: 4 toast pies
In an oven the cook time is usually longer, while an air fryer often finishes a few minutes faster because of stronger airflow.
What are toast pies
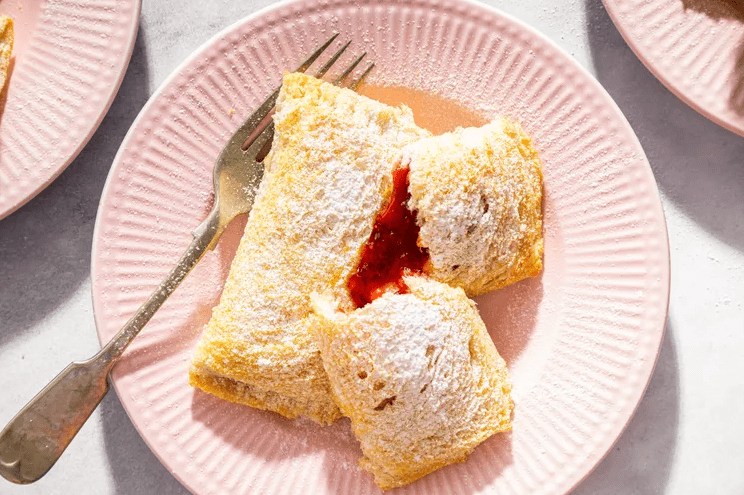
Toast pies are folded bread pockets sealed with egg wash or another sealer, then baked until the outside turns crisp and golden. They are similar to toaster pastries in shape, but they use fresh bread instead of a pastry dough and are meant to be eaten soon after cooking for the best texture. The method works because the pressed and sealed edge traps steam and keeps the filling inside while the outside dries and browns.
Ingredients with exact quantities
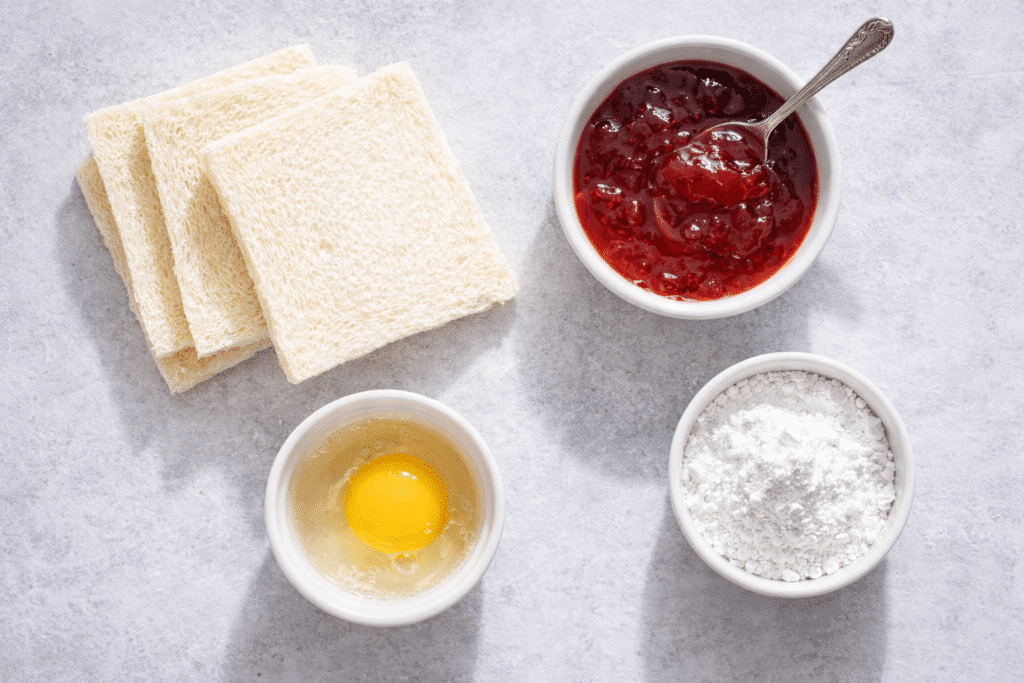
Base recipe for 4 toast pies
- Soft white sandwich bread: 4 slices, about 100 grams total, crusts removed for easiest sealing
- Thick filling: 4 tablespoons total, about 60 grams
- Good thick options: jam, Nutella style chocolate spread, cookie butter, nut butter, apple butter
- Avoid very runny fillings because they can bubble out and burn
- Egg wash sealer: 1 large egg plus 1 tablespoon water, beaten well
- Optional finish: powdered sugar for dusting, or cinnamon sugar
Bread options and what changes
- White sandwich bread: easiest to fold and seal
- Brioche or milk bread: softer and richer, browns faster so start checking early
- Whole wheat: sturdier, can tear if dry, press gently and use a bit more sealer
- Gluten free sandwich bread: often fragile, use a thicker sealer and handle slowly
Non egg sealing and browning option
- For sealing: mix 1 tablespoon all purpose flour with 1 tablespoon water to make a smooth paste, then brush a thin layer on the edges and press firmly
- For browning: brush the top lightly with milk or unsweetened plant milk, then bake as directed
Tools you need
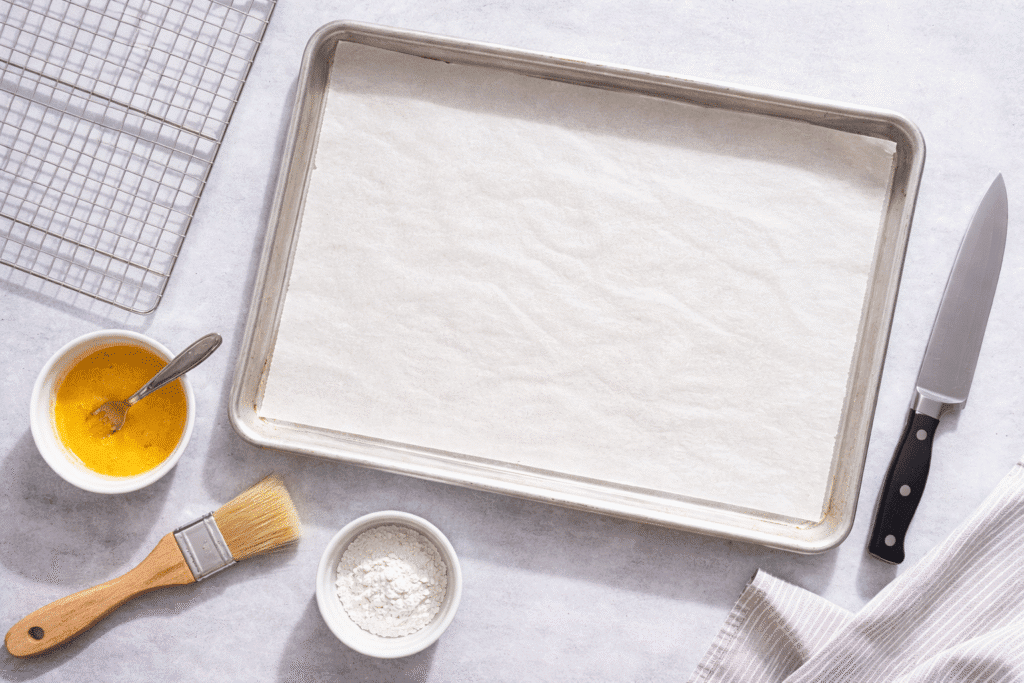
- Baking sheet
- Parchment paper, or a lightly oiled pan if you do not have parchment
- Small bowl for egg wash or sealer
- Fork for crimping
- Pastry brush, or use your fingertip or a folded paper towel
- Wire rack for cooling, or cool on a clean plate and flip once so the bottom does not steam
Detailed step by step preparation guide for Toast Pies
Step 1: Set up your workspace
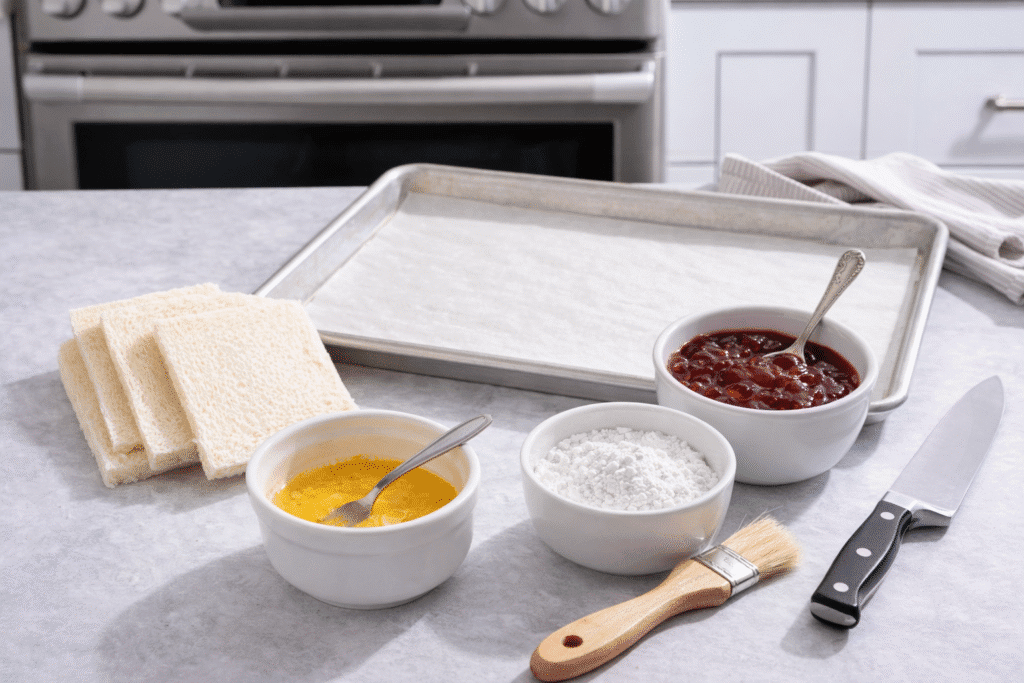
- Clear a clean counter and gather what you need: bread, filling, egg, water, fork, small bowl, brush or spoon, baking sheet, parchment paper.
- Heat the oven to 375 degrees F.
- Line the baking sheet with parchment paper so any leaks lift off easily.
Step 2: Prep the bread so it seals well
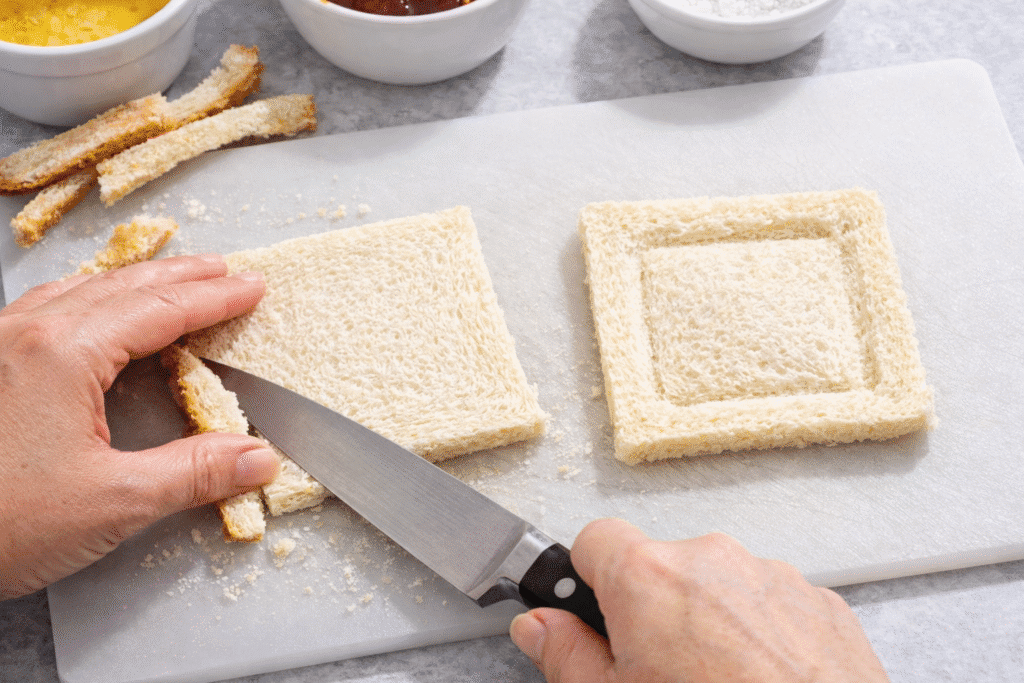
- Lay out 4 slices of soft white sandwich bread.
- Remove the crusts with a knife. This makes folding and sealing much easier.
- On each slice, press a shallow indent in the center using the back of a spoon or your fingertips.
- Keep a clear border all around the edge, about one half inch wide. That dry border is what will seal.
Quick check: If the bread feels dry and cracks when you bend it, cover it with a clean towel for a few minutes so it softens slightly.
Step 3: Mix the egg wash
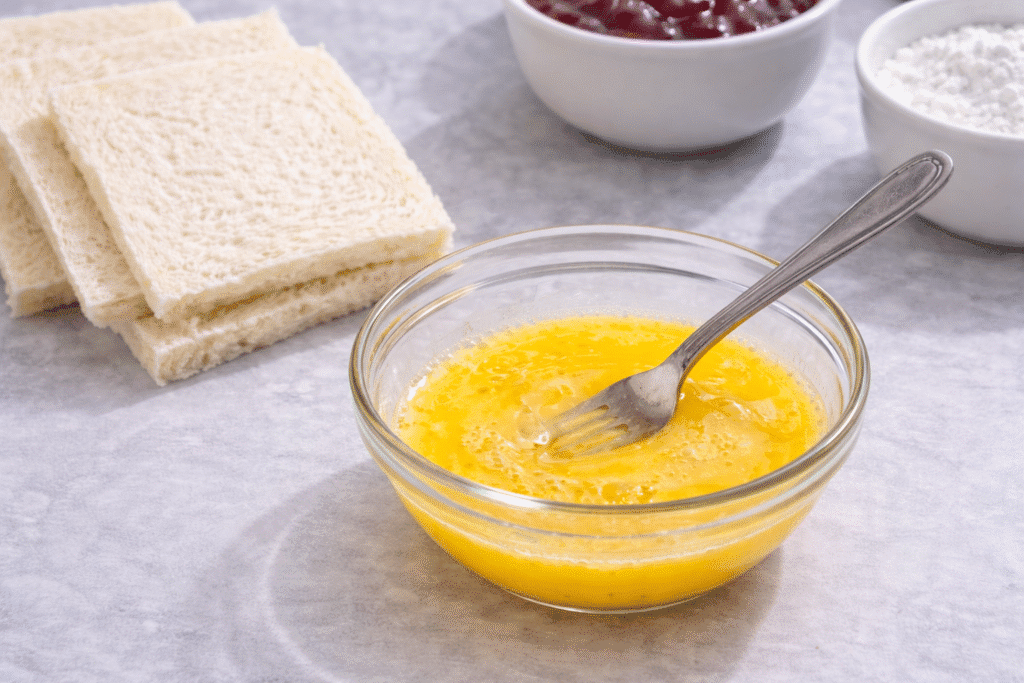
- Crack 1 egg into a small bowl.
- Add 1 tablespoon water.
- Beat until smooth and fully mixed.
Step 4: Add the filling without overdoing it
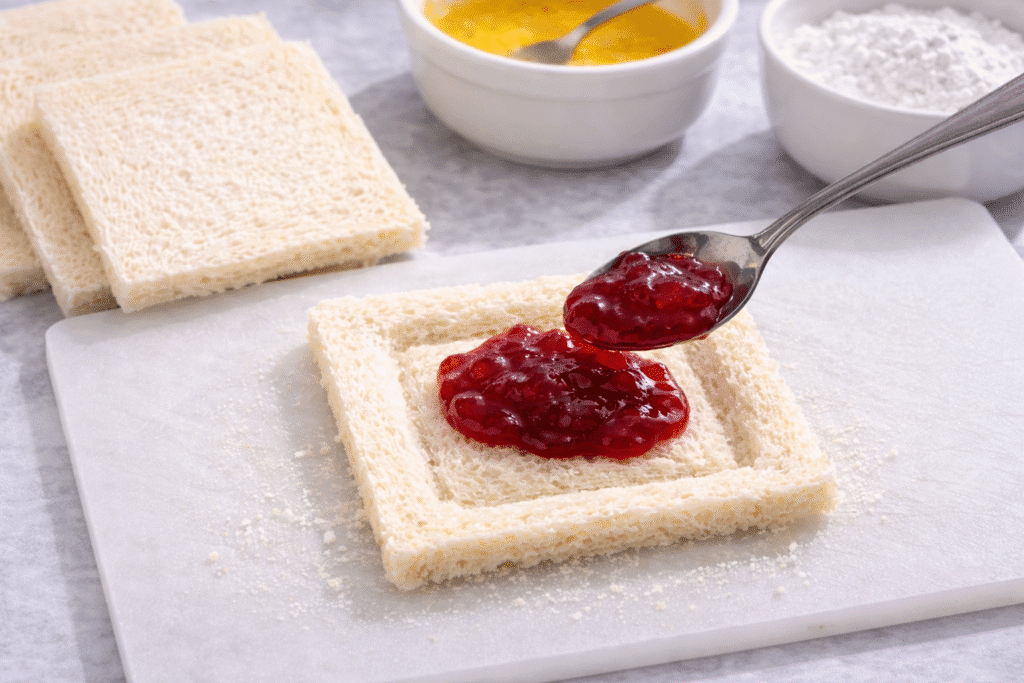
- Spoon 1 tablespoon of thick filling into the indent of each bread slice.
- Keep the filling centered and away from the border.
- If your filling is runny, stir it first or choose a thicker option like a thick jam, nut butter, cookie butter, or chocolate spread.
Quick check: If filling touches the border, wipe the border clean with a paper towel so the edges can seal.
Step 5: Seal the pies
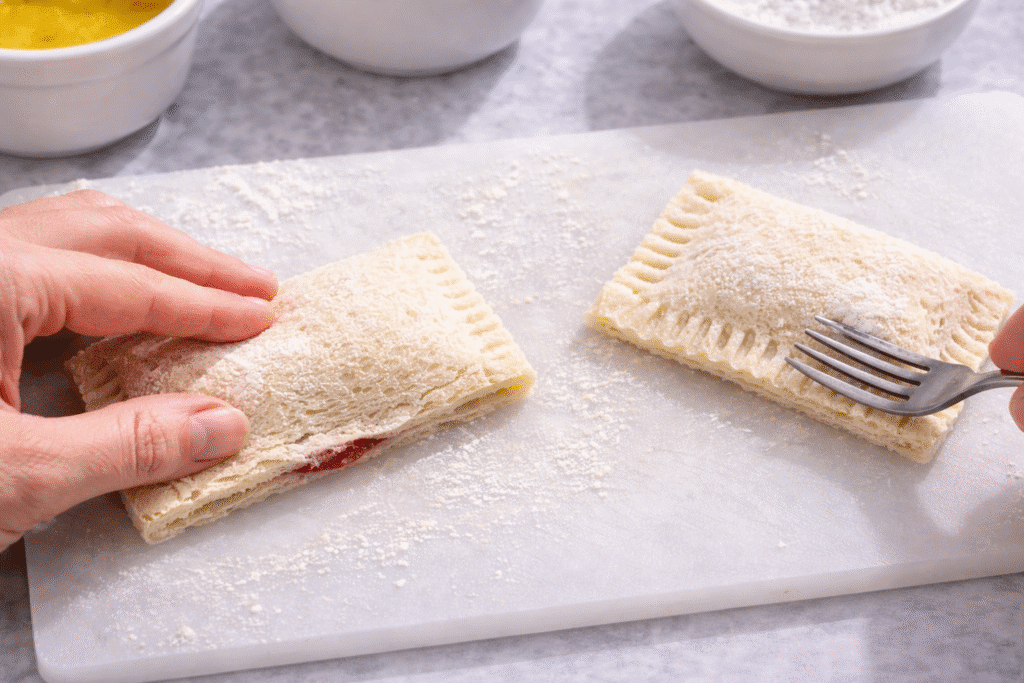
- Brush egg wash on the border around the filling.
- Fold the bread in half over the filling to form a half moon.
- Press the edge firmly with your fingers all the way around.
- Crimp the edge with a fork, pressing down to create a tight seal.
Pro tip: Take your time on the corners. Corners are the first place leaks start.
Step 6: Brush the outside for color and crispness
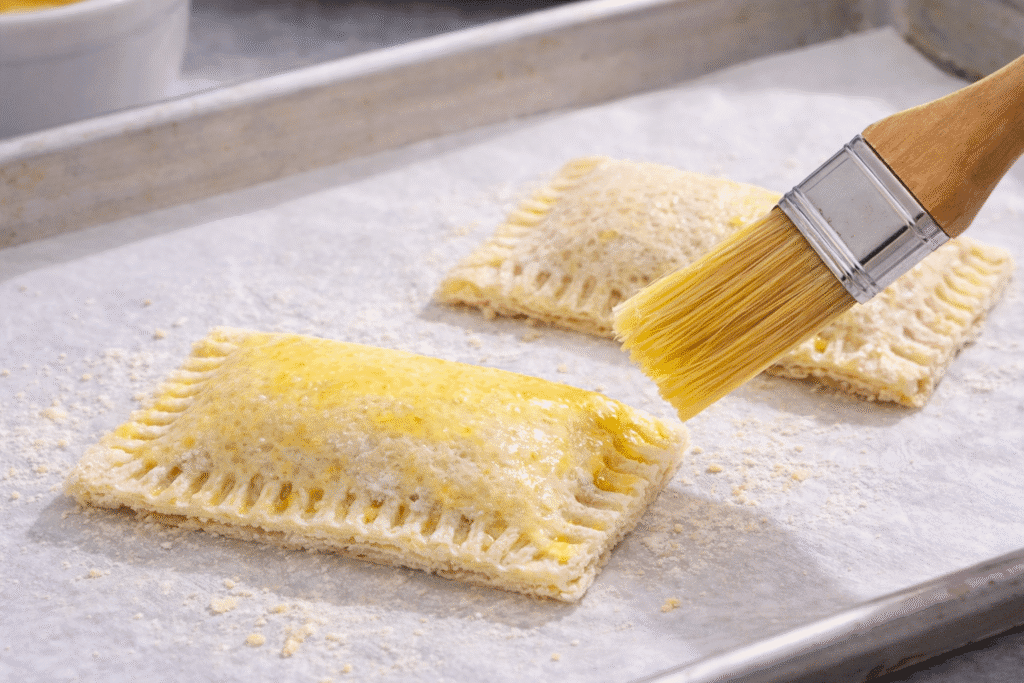
- Place the sealed pies on the lined baking sheet.
- Lightly brush the top and edges with egg wash.
- Keep the coating thin. Too much can drip and glue the pies to the paper.
Step 7: Bake
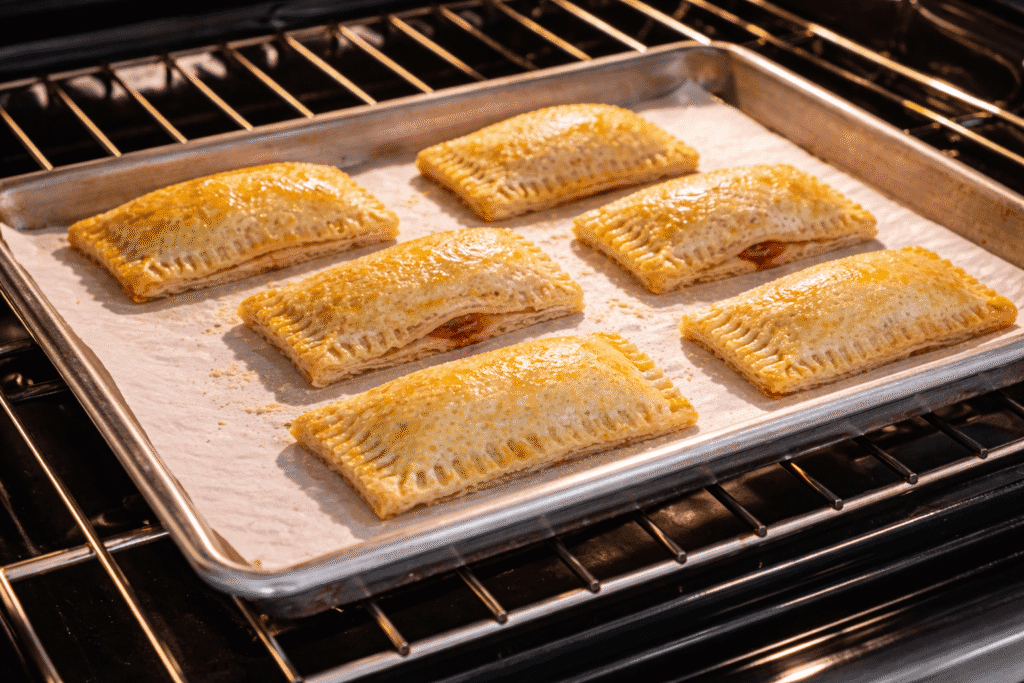
- Bake until golden brown and crisp, about 10 to 12 minutes.
- Start checking at 10 minutes. If your oven runs hot, they may brown faster.
Visual cues that they are done:
- The top looks evenly golden
- The edges feel firm and crisp
- Any small leak looks set, not wet
Step 8: Cool briefly so the bottoms stay crisp
- Move the toast pies to a wire rack for a few minutes.
- This lets steam escape so the bottoms do not turn soft.
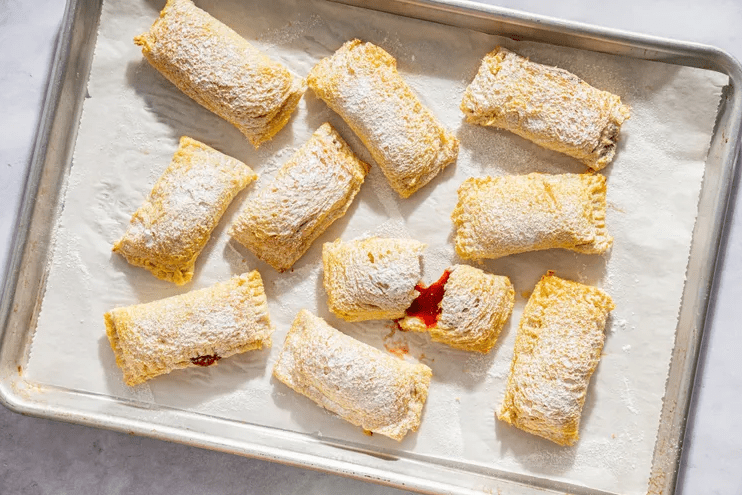
Step 9: Finish and serve
- Dust with powdered sugar if you want.
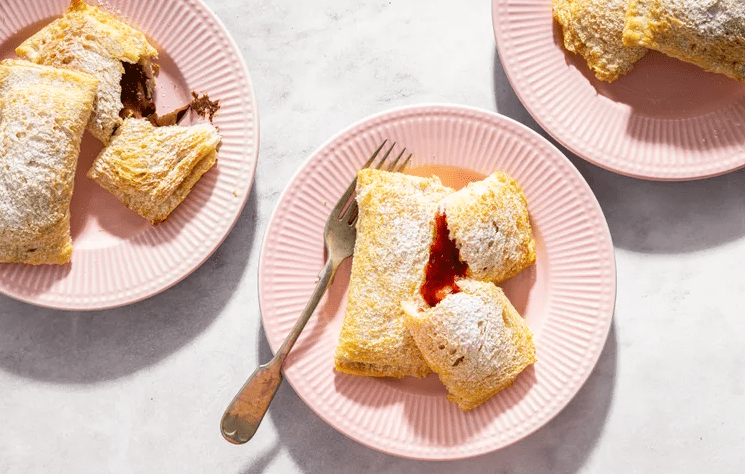
- Serve warm for the best crisp outside and gooey center.
Optional air fryer method with detailed steps
- Preheat the air fryer to 350 degrees F.
- Assemble and seal the toast pies exactly the same way.
- Lightly brush the outside with egg wash.
- Place pies in the basket in a single layer with space around each.
- Air fry about 5 to 7 minutes, checking at 5 minutes.
- Cool on a rack for a few minutes, then serve.
Air fryer tip: If the top browns too fast, lower the temperature slightly next time and cook a bit longer.
Fast troubleshooting while you cook
- Leaking: too much filling or filling too runny, use less and keep it centered, press and crimp harder.
- Edges opening: not enough egg wash on the border, brush a thin layer and reseal before baking.
- Soggy bottom: cooled on a plate, use a rack so steam escapes.
- Pale color: brush lightly with egg wash and bake a little longer.
Key Benefits of toast pies
- Fast, small batch dessert or snack
- Easy for kids to help assemble with simple steps
- Uses pantry fillings like jam, nut butter, or cookie butter
- Minimal cleanup when you use parchment
- Easy to customize so everyone gets their favorite filling
Common mistakes and how to fix them
- Seams opening: use softer bread, remove crusts, brush more sealer, and crimp firmly all the way around
- Filling leaking and burning: use a thicker filling and reduce to 1 tablespoon, keep it centered, and line the pan with parchment
- Soggy bottoms: cool on a wire rack so steam escapes, and avoid sealing in moisture on a plate
- Pale tops: brush the outside lightly with egg wash or milk, and bake a few minutes longer
- Bread tearing: let bread sit at room temperature a few minutes so it bends without cracking, and press the indent gently
Expert tips and real life examples
My messiest first try was with a runny fruit spread and too much filling. The pies looked sealed, but the filling bubbled out and glued them to the pan. On the next batch I switched to thicker jam and stuck to 1 tablespoon per pie, and the leaks stopped.
For making them with kids, I like an assembly line: one person presses the indents, one spoons filling, one seals and crimps. If you use egg wash, keep a dedicated brush and bowl for the egg, and wash hands and surfaces after handling raw egg to avoid spreading germs.
A make ahead strategy that keeps quality high is to assemble and seal the pies, then refrigerate them on a plate for up to about 30 minutes before cooking. In my testing this helped the seam set and reduced leaks, especially with softer breads.
Storage and reheating
Toast pies taste best warm soon after cooking, because the crust is crisp and the filling is gooey.
If your filling includes perishable ingredients like meat, eggs, or dairy, refrigerate leftovers within 2 hours at room temperature, or within 1 hour if the room is very hot, and store them covered.
To reheat for the best crispness, use an air fryer or toaster oven at about 350 degrees F, which is about 175 degrees C, for 3 to 5 minutes until hot. For safety, USDA recommends reheating leftovers to 165 degrees F when measured with a food thermometer, especially for foods that were refrigerated as leftovers.
Nutrition facts per serving
These are estimates and will vary a lot based on your bread and filling. With 1 slice of white bread per pie, about 1 tablespoon jam per pie, and only a small amount of egg wash sticking to the outside, a reasonable estimate is about 120 to 180 calories per toast pie.
It’s not possible to confirm exact nutrition without your specific bread brand and filling label, so treat this as a planning range rather than a precise count.
Frequently asked questions
Q1: What bread works best for toast pies
Soft white sandwich bread is easiest to fold and seal, but brioche, whole wheat, and gluten free breads can work if you handle them gently and use a strong sealer.
Q2: Can I skip egg wash
Yes. Use a flour and water paste to seal, and brush the top with milk or plant milk for browning.
Q3: Why did my filling leak
The most common causes are overfilling, using a runny filling, or not crimping firmly all the way around.
Q4: Can I freeze them
You can freeze assembled unbaked pies on a tray, then transfer to a bag. Bake from frozen and add a few extra minutes, watching for browning.
Q5: Can I use fresh fruit
Fresh fruit releases juice and can leak. If you want that flavor, cook fruit down into a thick compote first, then cool before filling.
Q6: How do I make them less sweet
Use less filling, choose reduced sugar jam, or switch to savory options like beans and cheese or pesto and mozzarella.
Q7: How do I keep the bottoms crisp
Cool on a wire rack and avoid covering them while they are still warm.
Conclusion

The keys to great toast pies are thick filling, a clean border, and a firm crimp. Start with one sweet option like thick jam or apple butter, then try one savory version like re-fried beans and cheddar. Once you nail the seal, you can make these anytime a quick warm snack sounds good.
Toast Pies: Easy Folded Bread Hand Pies With Sweet or Savory Fillings