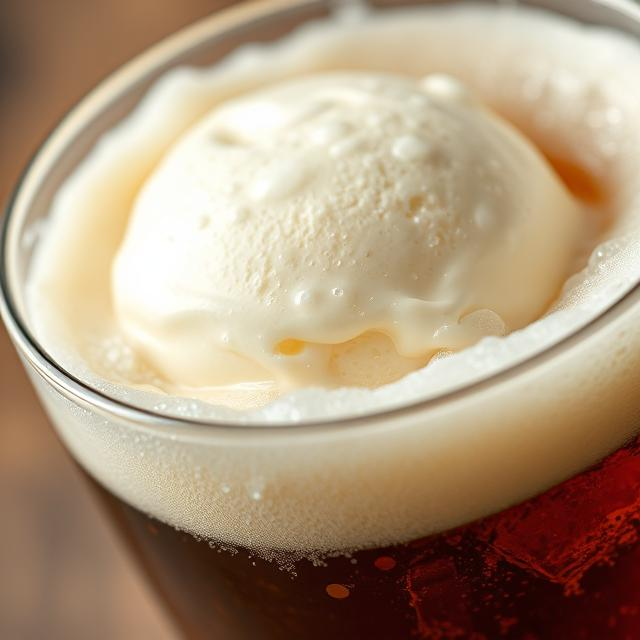
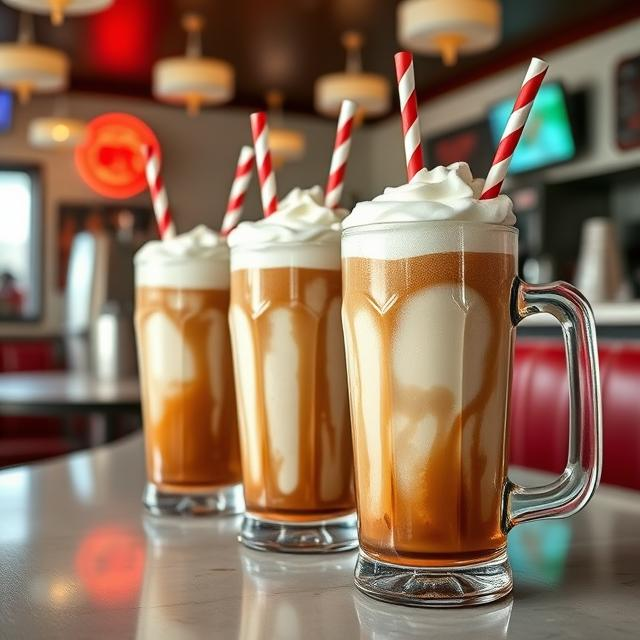
For the perfect root beer float, put two big scoops of cream vanilla ice cream into a chilled tall glass. Carefully pour cold root beer over the ice cream, letting foam rise and fall before adding more. Serve immediately with a straw and long spoon for the retro, fizzy summer treat.
Why Root Beer Floats Taste Like Summer
Few treats evoke the unselfconscious pleasure of childhood as much as the classic root beer float: scoops of creamy vanilla ice cream afloat in fizzy foam and the unmistakable scent of sassafras-flavored soda.
Legend has it that the root beer float was invented by Frank J. Wisner of Cripple Creek, Colorado in 1893 after pouring root beer over a scoop of vanilla ice cream. His creation was called the “Black Cow.” While other soda-jerk experiments with ice cream and soda had come before (most notably when Robert Green invented the ice-cream-soda in 1874, in Philadelphia), Wisner’s became well-known for popularizing the particular root-beer-and-vanilla combo that America now pairs with summer nostalgia.
So whether you’re making it to enjoy childhood memories or sharing it with kids waiting to experience their own, the root beer float is more than a dessert – in fact, it’s nostalgia in a glass.
Ingredients: What You Need for a Classic Root Beer Float

| Ingredient | Quantity | Notes |
|---|---|---|
| Vanilla ice cream | 2 scoops (approximately ½ cup each) | Use a good, rich full-fat style ice cream for the thickest foam |
| Root beer, chilled | 1 cup (8 oz) | A&W, Barq’s or Mug are classic options |
| Tall glass or float mug | 1 | Freeze for ~10 minutes to maintain fizz |
| Straw & long spoon | 1 each | Optional, of course, but very “of” Add these to the glass. |
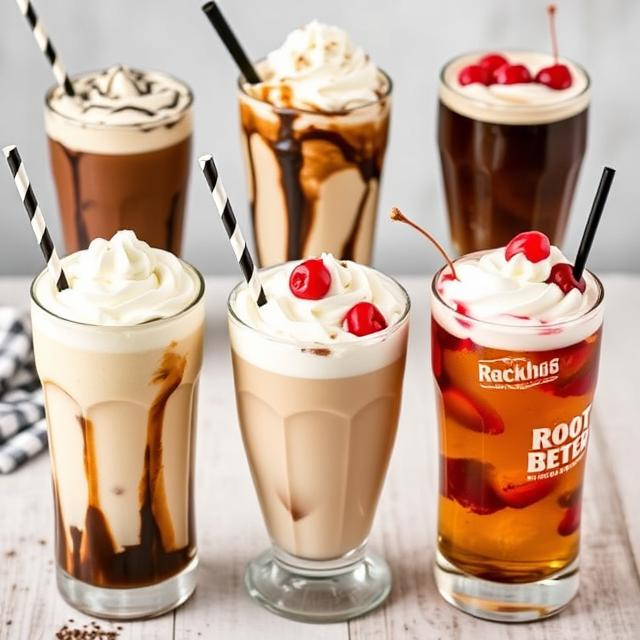
Optional Add-Ins
- Whipped cream or a maraschino cherry, for a diner-style flourish
- Brown cow (variation made with chocolate syrup)
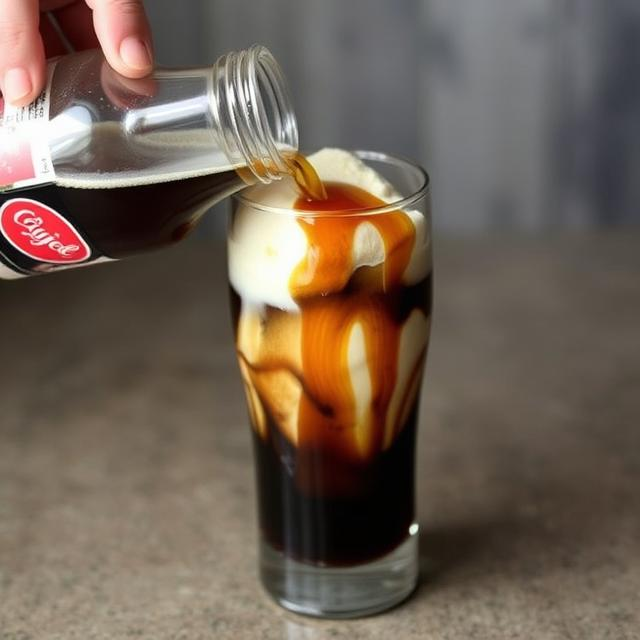
- Coldbrew coffee to kick things up a notch
- A glug of spiced rum or vanilla vodka, for an adult float
Step-by-Step Mixing Process
Step 1: Chill Everything
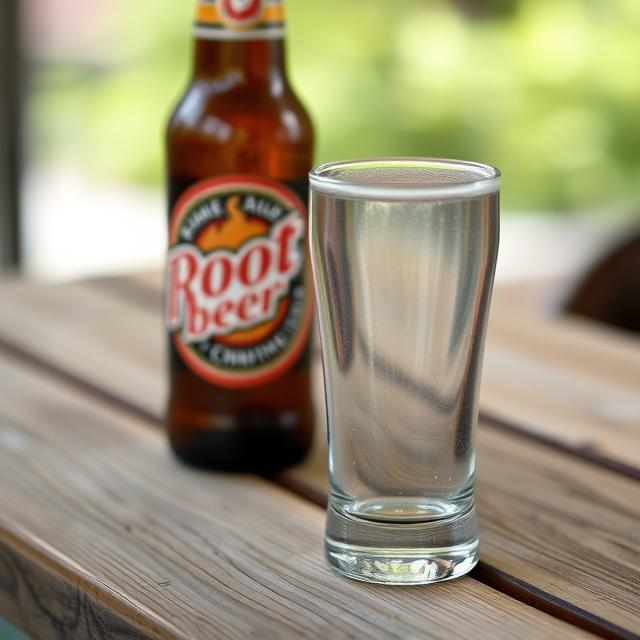
Chill your glass by putting it in the freezer for 10 minutes or so. A cold mug helps the ice cream from melting too quickly and preserves carbonation longer.
Step 2: Add Ice Cream First
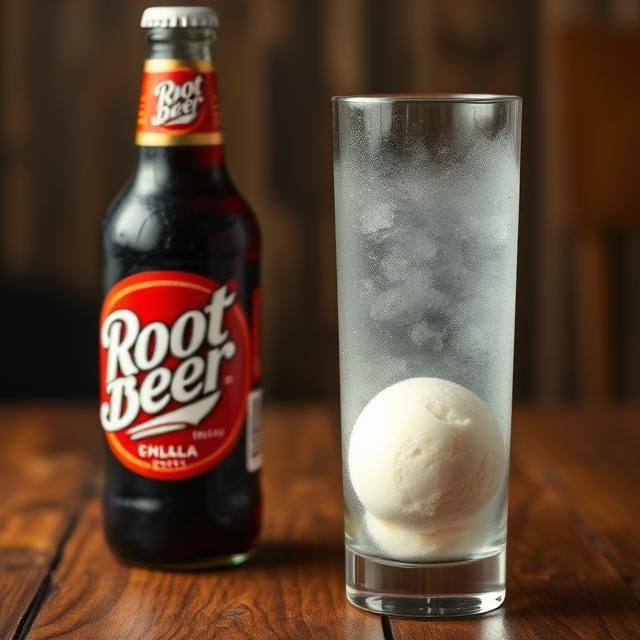
Add the scoop of vanilla ice cream to the bottom of the frosted glass. Because you are starting with ice cream it helps keep the foam in check.
Step 3: Making Sure to Have a Passable Flow of the Root Beer Pour the Root Beer Gradually
Tilt the glass and carefully pour the root beer down the side so that it rides up and over the ice cream rather than directly onto it. This process reduces the risk of your beer frothing over while producing that signature foamy head.
Step 4: Let the Foam Settle
Let it stop just a bit so that you can see them rise and then settle, as homemade root beer floats should do, then use more root beer to fill the glass up to the rim.
Step 5: Garnish and Serve
Serve with whipped cream or a cherry, if using. Toss in a straw and long spoon – the best part is chasing that creamy, fizzy formation as it melts.
Pro Tip:
If you prefer a thicker, creamier float, allow the ice cream to soften just a bit before pouring in the soda. Want a lighter, fizzier texture, then keep both ingredients ice-cold.
Why It Works: The Science of Foam
But that frothy cap isn’t just a game – it’s also science at work.
The root beer is carbonated and has dissolved carbon dioxide (CO₂). When the soda travels to the fat and protein in ice cream, those compounds act as stabilizers that capture gas bubbles. The whipped-in air and fat also cow the ice cream into being less dense than liquid, so it floats.
In short: a root beer float is a tasty display of buoyancy, carbonation and colloid chemistry.
Nutrition (1 Float ≈ 12 oz)
| Nutrient | Approximate Amount |
|---|---|
| Calories | 350 to 450 kcal |
| Total Fat | 12 to 16 g |
| Saturated Fat | 7 to 10 g |
| Carbohydrates | 65 to 80 g |
| Sugars | 55 to 70 g |
| Protein | 4 to 6 g |
| Sodium | 110 to 130 mg |
| Calcium | ~15 % DV |
Values for specific ice cream brands, serving sizes and soda choices (A&W, Barq’s, etc.) may differ.
Portion & Variations of Fun
Servings: 1 float (12 to 16 oz glass)
Serves: 1
Popular Variations
- Chocolate Root Beer Float (Brown Cow): Use chocolate ice cream.
- Coffee Root Beer Float: Stir in a shot of cold brew or espresso.
- Homemade Craft Float: Opt for small batch or homemade sassafras root beer for an olden flavor.
- Adult Float: Pour a splash of spiced rum or vanilla vodka and you got yourself an after-dinner drink!
Make-Ahead Tips
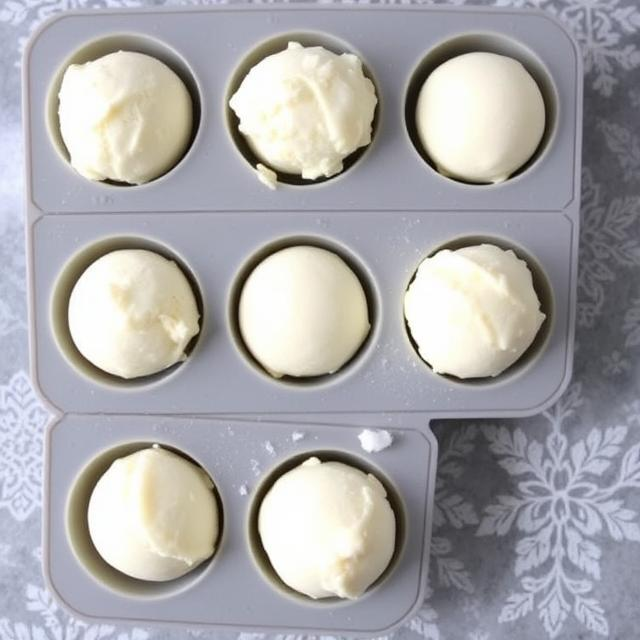
- Pre-scoop ice cream into muffin tins or silicone cups, freeze and then drop right in the glasses when serving.
- Use well-chilled soda. The foam from immediate overflow is due to hot root beer.
- Keep extra bottles ready. The foam dissipates rapidly, and topping off just before serving brings back the perfect balance of fizz to cream.
A Simple Treat That Never Gets Old
The root beer float is a testament to the fact that the best desserts don’t necessitate specialized equipment or exotic ingredients. With only two staples – soda and ice cream – you can call up the sweet taste of American soda fountains, long lazy summers and backyard barbecues.
Whether it’s a family soiree, dinner party or craving for one in the evening, this fizzy-creamy combo stands the test of time. A root beer float isn’t just dessert – it is a celebration of nostalgia, science and sweetness in every sip.
FAQs
Q1: How do I make a root beer float without root beer?
Yes. Use cream soda, cola or Dr Pepper for new flavors. Cream soda is the most traditional taste.
Q2: What is the best ice cream flavor?
The most popular flavor is classic vanilla, but other flavors like chocolate or caramel or butter pecan add depth.
Q3: How can I avoid overflown?
Pour slowly down the side of the glass and periodically just stop and wait a second for the foam to settle.
Q4: Can I make it dairy-free/vegan?
Absolutely. Go with plant-based ice creams (oat, coconut or almond milk) and caffeine-free root beer.
Q5: How come the ice cream doesn’t sink?
Because it’s less dense – the fat and air in ice cream are buoyant in a carbonated liquid, which means that ideal creamy layer on top.
How to Make the Perfect Root Beer Float at Home